From the driveway, a kitchen remodel looks like chaos. It shouldn't be. Each step sets up the one after it, and when a step happens out of order, you usually pay for it later in torn-out work. This is the order a kitchen remodel actually runs in, what you need to decide before anything comes out, and how to get by while the room is out of service.
The order at a glance.
- Measure the room and settle the layout.
- Make the big choices: cabinets, counters, flooring, appliances, sink and lighting.
- Protect the rest of the house, then demo the old kitchen.
- Rough in the plumbing and electrical, then get the inspections.
- Insulate, hang drywall or repair plaster, and prime.
- Install the flooring if it runs under the cabinets, then set the cabinets.
- Template the counters off the installed cabinets, then install them.
- Tile the backsplash.
- Hook up the sink and appliances, fit the trim, and paint.
- Walk the punch list, clean, and wipe everything down.
Some kitchens shuffle a step or two. A floating floor might go in after the cabinets, for example. But the backbone stays the same: plan, open up, rough in, close up, build in, finish.
Plan and measure before anything comes out.
Planning is the cheapest stage to change your mind. Moving a sink on paper costs an eraser. Moving it after the drain is roughed in costs real money and puts everyone behind.
Good plans start with careful measurements of the room as it is now: walls, windows, doors, ceiling height, and where the pipes and the range vent run. Older New England houses are rarely square, and a wall that leans or a floor that dips changes how cabinets fit. Trust the tape measure over the photos you saved.
Decisions to make early.
- Cabinet layout and door style. Cabinets are often the slowest thing to arrive.
- Appliance models, with the spec sheets in hand, so openings are built to fit.
- Sink and faucet, because the counter cutout depends on them.
- Where outlets, under-cabinet lights and pendants go.
- The flooring, and whether it runs under the cabinets or stops at them.
- Counter material, so nothing underneath has to be changed to carry it.
- Where you want to spend and where you're happy to save.
Demo comes with dust control.
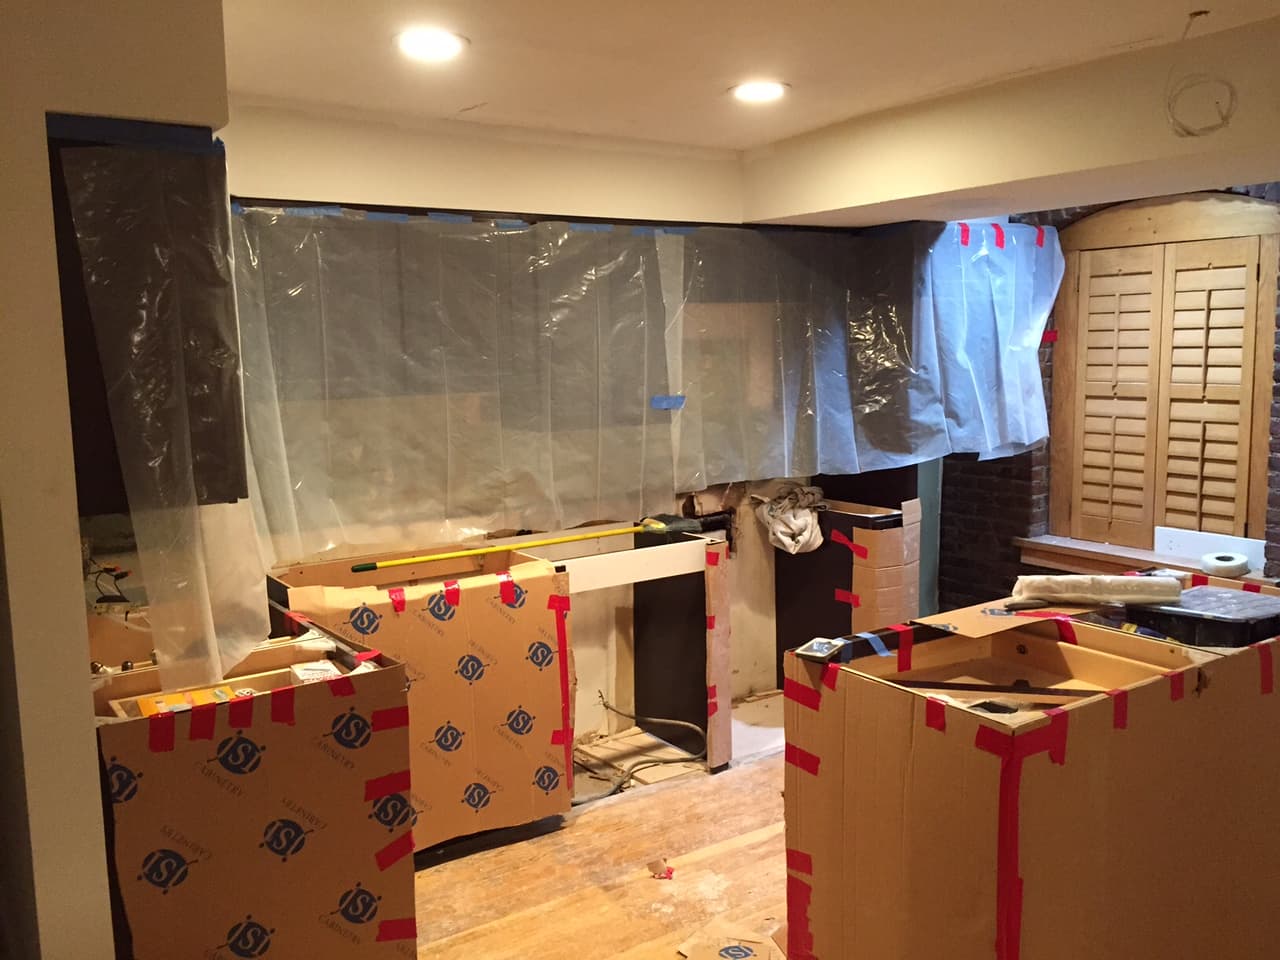
Demo is the loud part and the dusty part. Before the first cabinet comes off the wall, the floors along the path to the door get covered and the kitchen gets sealed off with plastic. Return vents nearby get covered too, or the heating system spreads dust into every room.
Demo is also when surprises show up: old water damage under the sink, a soft spot in the subfloor, wiring nobody can explain. Better to find those now, with everything open, than after new cabinets are hung over them. Ask how surprises will be priced and approved before work starts, so nobody is guessing later.
Rough-in and inspections happen behind the walls.
With the room opened up, the plumbing and electrical get roughed in: supply and drain lines where the sink and dishwasher land, circuits for the appliances, and boxes for outlets and lights. A plumber and an electrician handle this part. It's where your early decisions pay off, because they're working from a finished plan instead of a guess.
Plumbing and electrical work generally needs permits, and the rough-in usually gets inspected before the walls close. What's required and when varies by town, so check with your local building department. Our pages on kitchen remodeling in Malden and kitchen remodeling in Medford are a good place to start.
Walls first, then cabinets, then counters.
Once the rough-in passes, exterior walls get insulated where they're open, and drywall gets hung, taped and finished. In an older house, sound plaster walls may get repaired or skim coated instead of torn out. Primer often goes on now, while nothing is in the way.
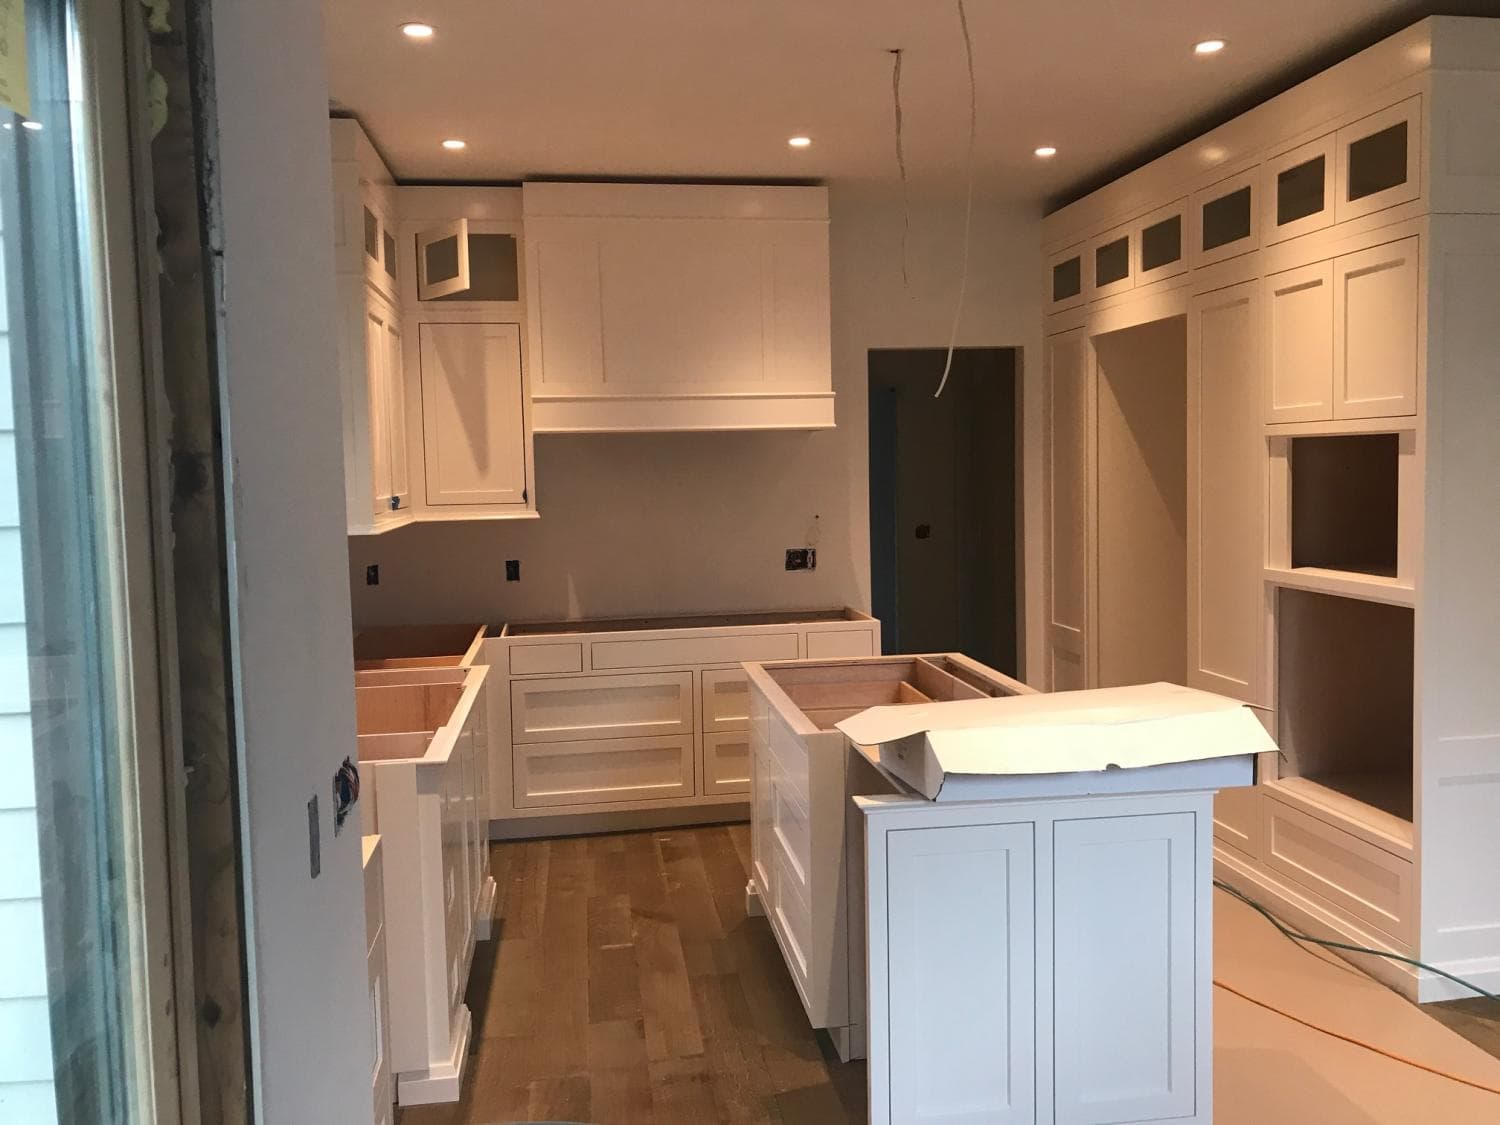
Cabinets come next. Uppers usually go first so nobody has to lean over the base cabinets to hang them. Then the bases and the island. Each box gets shimmed level, because the floor almost never is, and fastened into the framing.
Counters always follow the cabinets. Stone and quartz tops are templated off the installed cabinets, so the fabricator measures what is actually there instead of what a drawing says. Then there's a wait while the tops are cut. That gap is normal, and it's one more reason to have the sink and faucet picked out early.
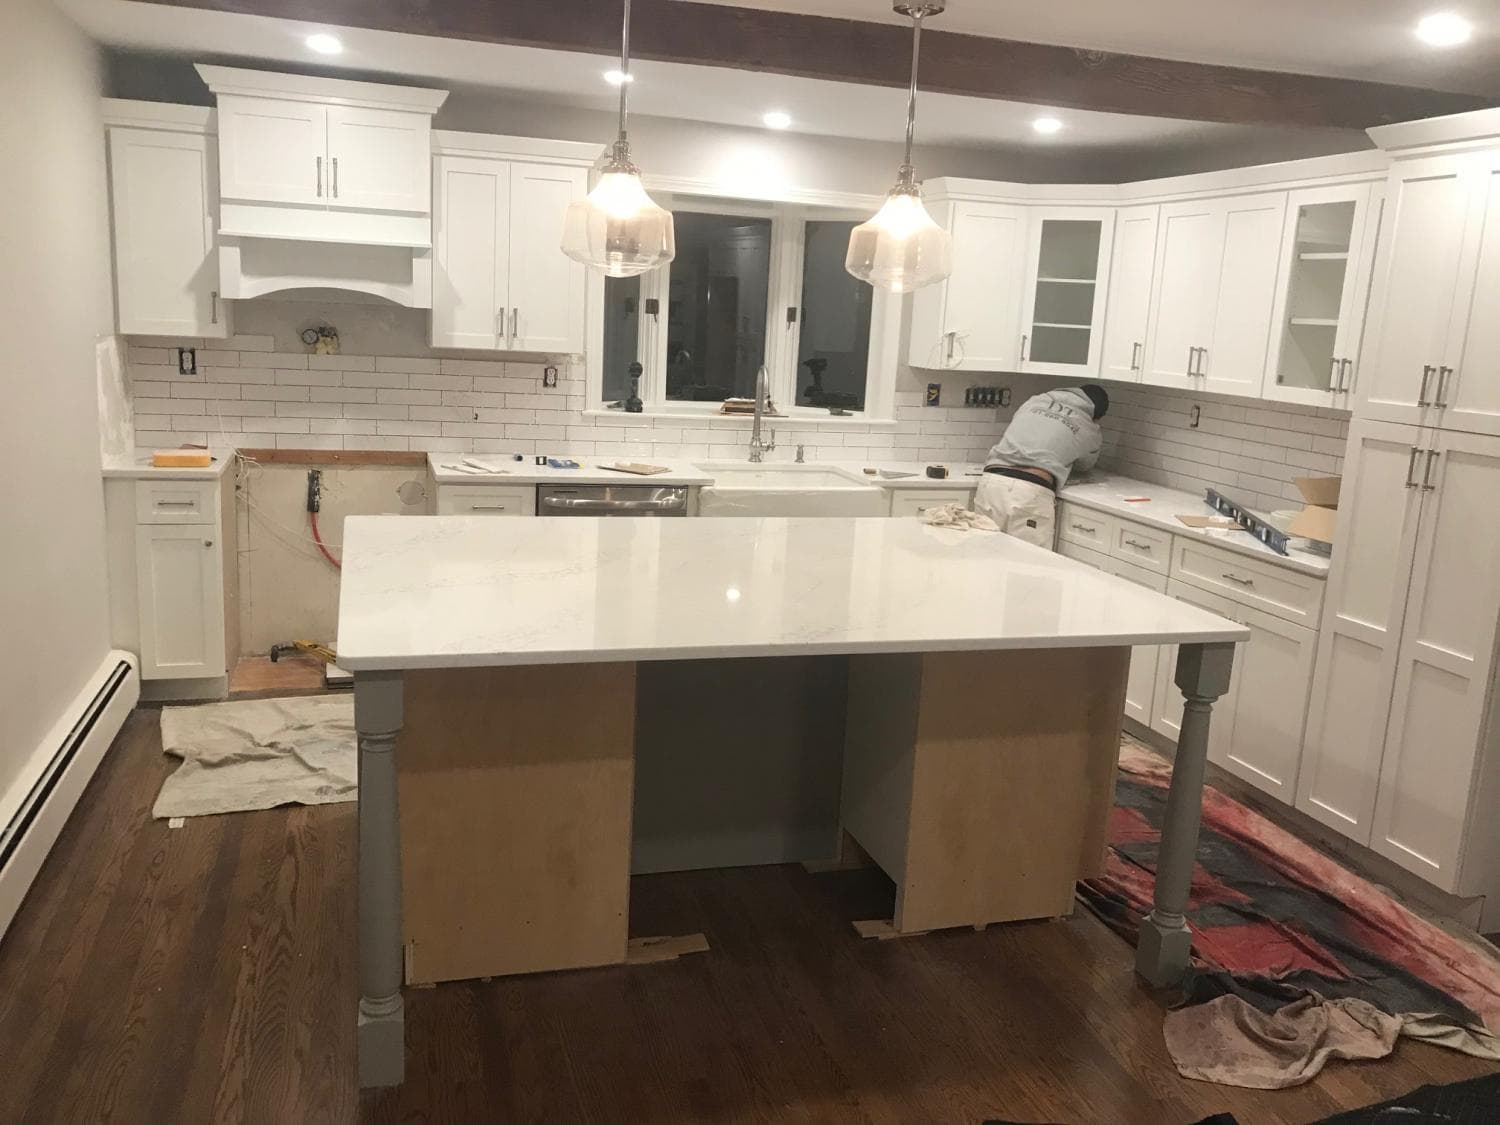
Backsplash, trim, paint and the final wipe-down.
- Backsplash. Tile goes up after the counters are in, so it sits right on the counter line.
- Hookups. The sink, faucet, dishwasher and appliances get connected by the plumber and electrician.
- Trim. Crown, filler strips, toe kicks and any window or door casing get fitted.
- Paint. Walls get their finish coats, with touch-ups saved for after the other trades are gone.
- Punch list. Doors aligned, drawers adjusted, caulk lines checked, outlet covers on.
- Cleanup. Every surface wiped down, inside the cabinets included, before you load in a single plate.
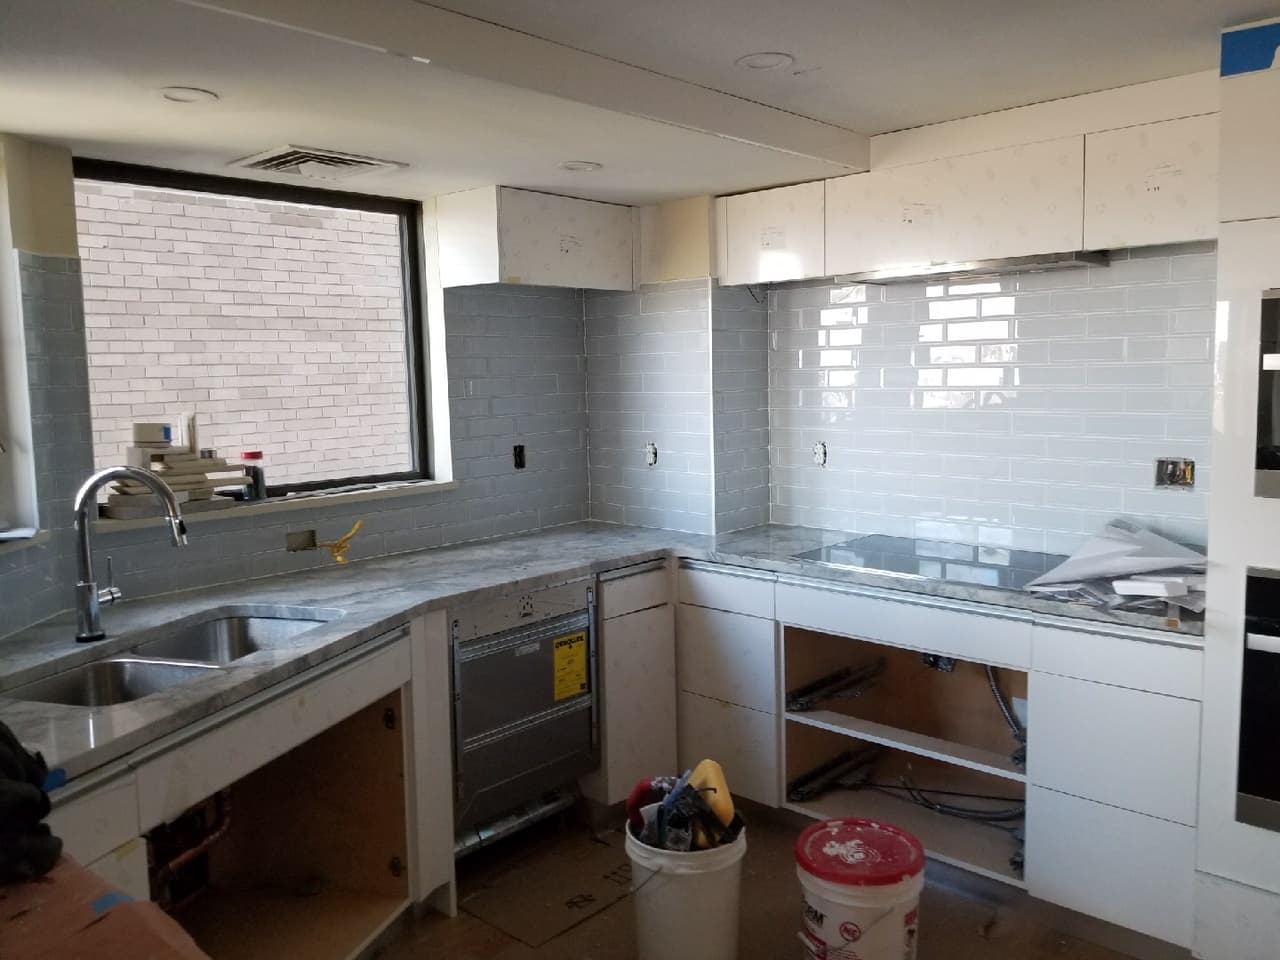
The end of a remodel should feel calm, not frantic. Tom J. described his like this: "A complete remodel of our kitchen and we couldn't be happier. The guys were hard working, efficient and always on time." Showing up when you said you would is a big part of keeping the order of work on track.
Living without a kitchen for a while.
Even a well-run remodel takes the kitchen out of service for a stretch. A little setup ahead of time makes it a lot easier on the household.
- Pick a spot near water: a laundry sink, a basement utility sink, or a bathroom you can fill a pot in.
- Move the fridge there if you can, or keep it plugged in somewhere you can reach it.
- A microwave, toaster oven, slow cooker, kettle and coffee maker cover most meals.
- Paper plates and a plastic dish tub cut way down on washing up.
- Pack the kitchen into labeled boxes before demo, and keep one box of everyday basics out.
- Use the grill if the weather cooperates.
Ask your contractor which stages are the loudest and dustiest, and when the water or power will be shut off. Plan around those and the rest is manageable. To see finished and in-progress kitchens, look through the gallery or our kitchen and bath remodeling page, and when you're gathering bids, our guide on comparing contractor estimates can help you read them side by side.
Common questions
It depends on the flooring. Tile and many plank floors can go in first and run under the cabinets, while some floating floors go in after so the cabinets don't pin them down. Decide during planning, because it affects cabinet height and the dishwasher opening.
After the base cabinets and island are installed and level. The fabricator templates off the real cabinets, then cuts the tops, so there's always a gap between cabinets going in and counters going on.
Yes, most people do. With the kitchen sealed off, floors covered and daily cleanup, the rest of the house stays livable. A temporary kitchen setup makes the biggest difference.